REVIEW · ADELAIDE
McLaren Vale Shared Tour, visit 4 wineries . Best itinerary.
Book on Viator →Operated by Wine Valley Tours · Bookable on Viator
That big view at d’Arenberg starts it right. This 7.5-hour Adelaide wine day pairs panoramic tastings with a good pacing through four very different cellar doors in McLaren Vale and the Adelaide Hills. I also like that it’s set up as a private day with pickup from where you want, so the whole trip feels easy rather than stressful. One thing to plan for: alcoholic pours aren’t included, so if you want premium bottles or extra glasses, that’s extra.
I like the order of the stops because it keeps the momentum without feeling like a sprint. You begin with the famous d’Arenberg experience, then shift to heritage and smaller, more hands-on styles before finishing in the middle of McLaren Vale with a family-run cellar door.
The only real drawback I’d flag is time and alcohol budgeting. With a full day outdoors and in tasting rooms, you’ll want water, and you’ll need to be ready to pay for the wine you actually take home—or the extra glasses you decide you can’t resist.
In This Review
- Key highlights
- A 7.5-hour wine day that actually feels relaxed
- d’Arenberg Cube: panoramic tastings over McLaren Vale
- Chalk Hill Wines: heritage roots and a shorter, focused stop
- Samuel’s Gorge: hand-crafted wines with a free tasting entry
- Oliver’s Taranga: six generations in the middle of McLaren Vale
- Price and value: what $157.79 really covers
- How the guide keeps your day flexible (and not forced)
- Transportation, comfort, and when to plan ahead
- Who this tour suits best (and who might want something else)
- Should you book this McLaren Vale and Adelaide Hills wine day?
- FAQ
- How long is the McLaren Vale shared tour with 4 wineries?
- What is the price per person?
- Do you get pickup and drop-off in Adelaide?
- How many wineries are visited?
- Are tasting fees included?
- Are alcoholic beverages included in the tour price?
- Is this tour private?
- Can the tour accommodate a wheelchair?
- What’s the cancellation policy?
Key highlights
- d’Arenberg Cube opener with panoramic views and a proper tasting session
- Four cellar doors in one day, including two stops where tasting entry is free
- Pickup and drop-off in Adelaide at your chosen location, so you don’t waste time
- Tasting fees pre arranged and included, which makes the day feel truly set up
- Private format for your group, with flexibility to suit your pace
A 7.5-hour wine day that actually feels relaxed
This is built as a full-day outing (about 7 hours 30 minutes), but the trick is in how it’s structured. Instead of hopping between random places with long lines and unclear timing, you get a smooth, guided run through the McLaren Vale / Adelaide Hills wine corridor.
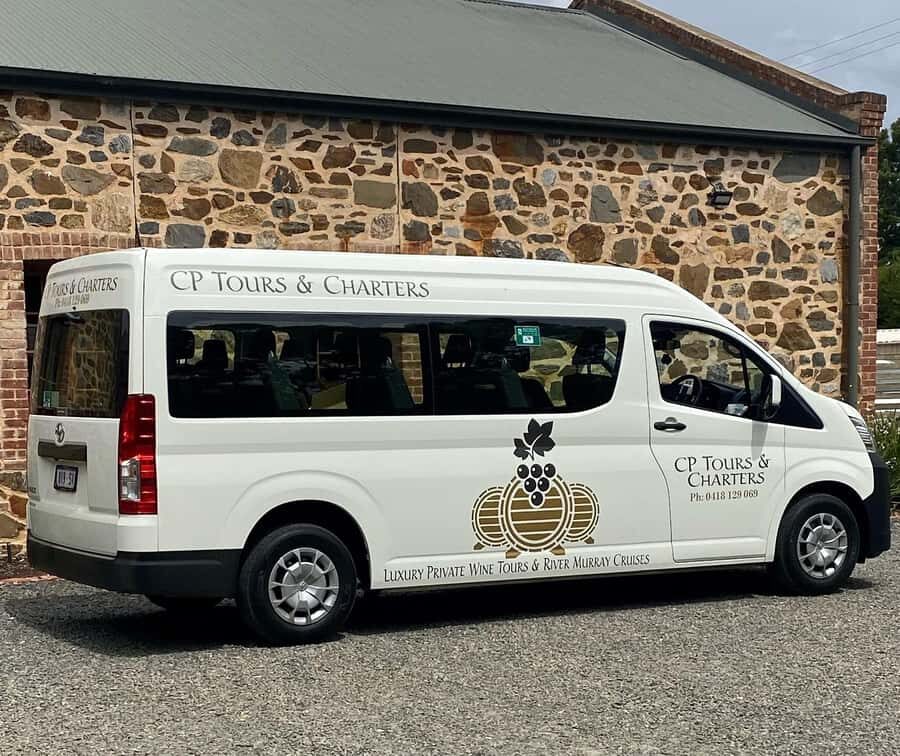
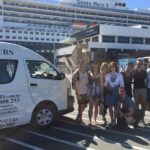
Pickup matters more than most people think. You’re picked up (and dropped off) at a location of your choice in Adelaide, which keeps the day from turning into a transit puzzle. It’s especially helpful if you don’t want to think about parking, rideshares, or who’s driving back after the first tastings.
The tour also notes you’ll get a mobile ticket, plus group discounts. The practical value here is simple: you can plan around one scheduled day, and the tasting fees are already arranged—so you aren’t constantly pulled aside to pay separate entry costs.
Other McLaren Vale wine tours reviewed in Adelaide


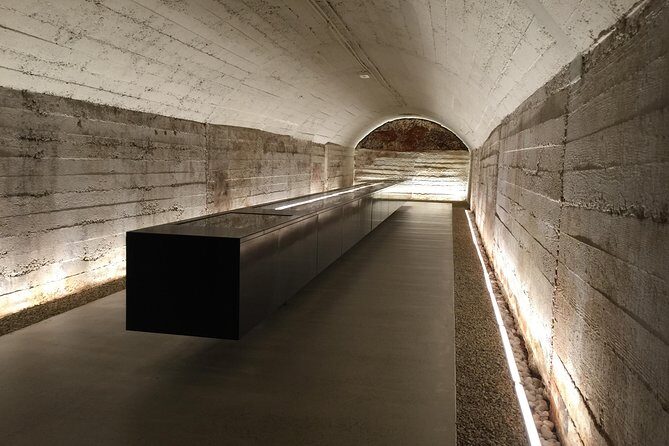
d’Arenberg Cube: panoramic tastings over McLaren Vale
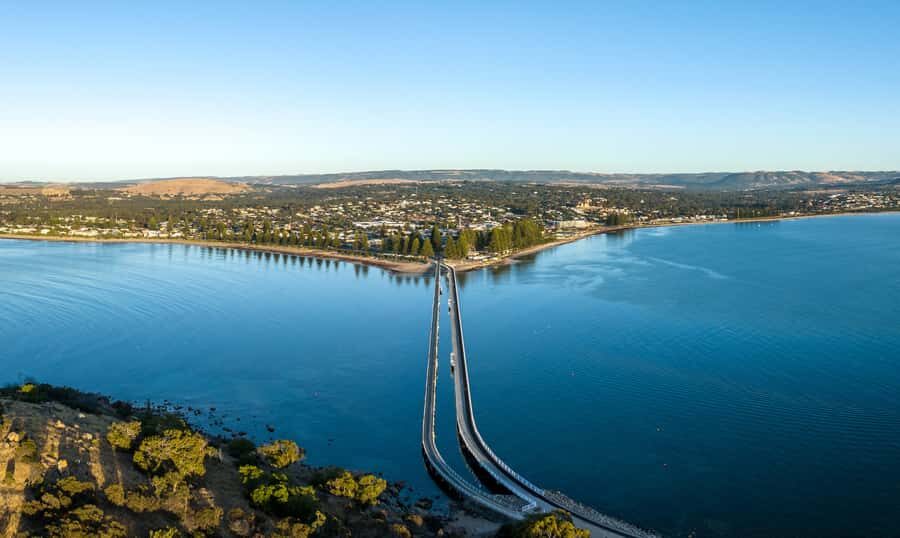
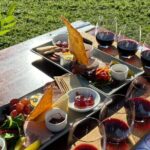
d’Arenberg is where this day earns its big “wow” factor fast. You’ll go to the top level of the d’Arenberg Cube, and that’s the whole point. The tasting room setup is designed for views across McLaren Vale, the Willunga Hills, and out toward the Gulf St Vincent.
Time-wise, you get about 1 hour 30 minutes here, which is the right length. It gives you room to settle in, taste a selection of d’Arenberg wines, and still have time to talk with your guide about what you’re liking (and what you might want to adjust later). If you’re the type who likes to compare styles and talk through flavors, this is a strong start.
One small consideration: this kind of “signature-view” venue can mean more people in the room at peak times. If you prefer quiet tastings, go into it with the mindset that you’re choosing the views first—and then you’ll enjoy the tasting.
Chalk Hill Wines: heritage roots and a shorter, focused stop
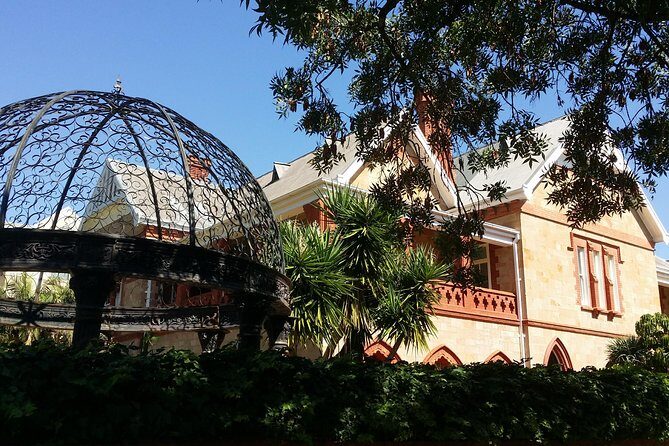
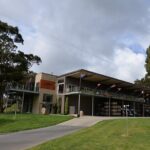
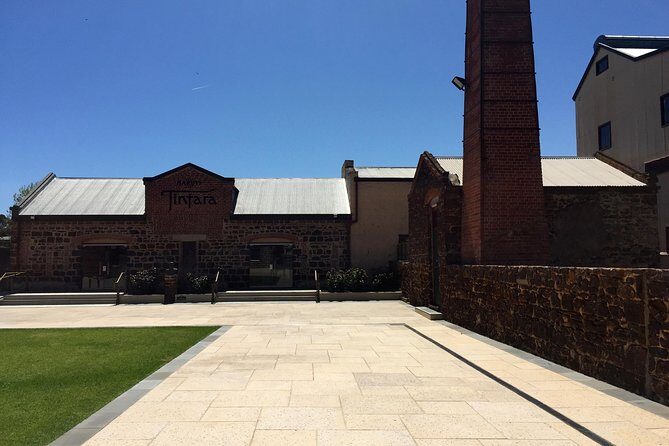
Next comes Chalk Hill Wines, and the tone shifts. Instead of a landmark “cube” moment, you step into a spot with deep local roots—heritage that traces back to John Harvey arriving in Adelaide in 1839, when the city had around 6,000 people.
Your stop here is about 45 minutes. That matters because it keeps you moving without cutting the tasting too aggressively. In a day with multiple cellar doors, a shorter session can be a good thing: you get to experience the style and history, taste what you came for, and still keep energy for the later stops.
What to expect: a more “settle-in and taste” vibe. If you love seeing how early viticulture shaped the region, Chalk Hill is a nice contrast after d’Arenberg’s panoramic spectacle. If you’re mainly in it for the wine, don’t worry—the focus stays on tastings rather than museum-style wandering.
Samuel’s Gorge: hand-crafted wines with a free tasting entry
Samuel’s Gorge is a steady, hands-on kind of stop. The winery’s approach is described as hand-crafted and tied to the landscape where the work happens—using references to history for texture, complexity, and harmony, plus patient techniques and indigenous yeasts.
This is also one of the stops where entry for the experience is free (the data lists the tasting ticket as free). That doesn’t mean the wine is free—it means you’re not paying an additional entry/ticket fee for that stop as part of the tour structure.
Time-wise, you’ll have about 45 minutes. That gives you enough time to taste, ask questions, and notice what’s different about the winemaking approach without turning it into a long lecture. If you’re someone who likes variety—especially in how the same region can still produce totally different expressions—Samuel’s Gorge is a good middle-of-the-day anchor.
One practical note: since alcohol isn’t included, keep an eye on what you’re ordering if you’re doing the tastings and then thinking about an extra glass. You might find yourself wanting one more pour once you’ve tasted your way into the style.
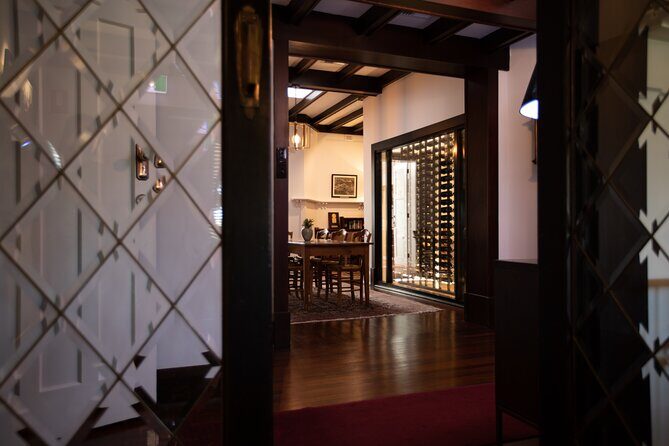
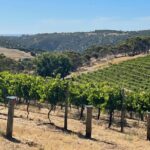
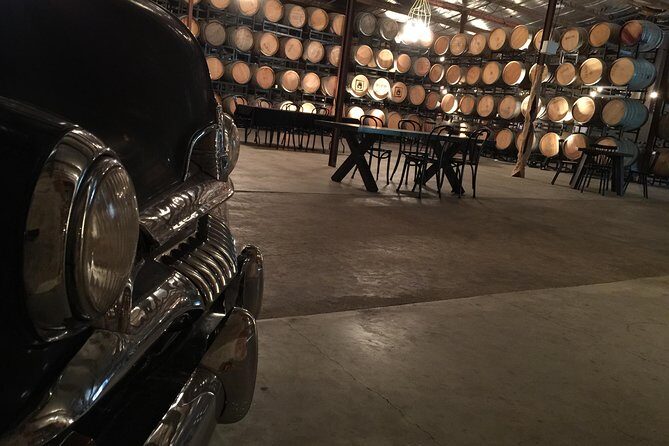
Oliver’s Taranga: six generations in the middle of McLaren Vale
Oliver’s Taranga Vineyards Cellar Door and Winery rounds out the day with a very “people and place” feel. The description highlights six generations of growers and one spirited winemaker—so you get that sense of continuity, not just a modern cellar door experience.
The tour gives you about 1 hour 30 minutes here, which is a great amount of time for a final stop. By then, you’ve already tasted a range of styles, so you’re less likely to feel overwhelmed. Instead, you can compare what you liked earlier and decide if you want to put your money down on a bottle—or just soak up the setting and end the day satisfied.
This stop is also listed as ticket free for entry within the tour structure. Again, that’s about the tasting/entry fee side of things. Any wines you choose to drink or buy are still your expense.
If you like finishing with a classic cellar door experience rather than another big “showpiece” venue, Oliver’s Taranga is a solid close. It’s also specifically described as being in the middle of McLaren Vale, which helps make the day feel tied to the region you actually came for.


Price and value: what $157.79 really covers
At $157.79 per person, this tour isn’t the cheapest option—but it’s also not trying to be. Here’s the value logic that matters:
- All fees and taxes are included, which removes the common “surprise costs” problem with wine days.
- Tasting fees are included, and they’re pre organised for you. That’s a big deal because it protects your schedule. You’re less likely to end up at a cellar door where tastings are sold out or require extra coordination.
- Alcohol is not included, and premium wine tastings are at your expense. So your final bill depends on how wine-happy you get.
When a tour includes tasting fees, the difference shows up fast. Instead of budgeting for every new entry fee or trying to figure out what’s included at each stop, you can focus on tasting decisions. You’re still paying for what you drink and any premium add-ons—but the base day is clearly set.
Also: you’re getting pickup and drop-off in Adelaide at your chosen location. If you’ve ever tried to cobble together a wine day by car and bookings yourself, you know the cost in stress can be just as real as money.
How the guide keeps your day flexible (and not forced)
The tour is described as private and customizable for your group’s needs, with the big practical perk that you can pick wineries in McLaren Vale and the Adelaide Hills. That’s what you want if your group has mixed tastes—someone wants reds, someone wants whites, and someone just wants the best views with the fewest decisions.
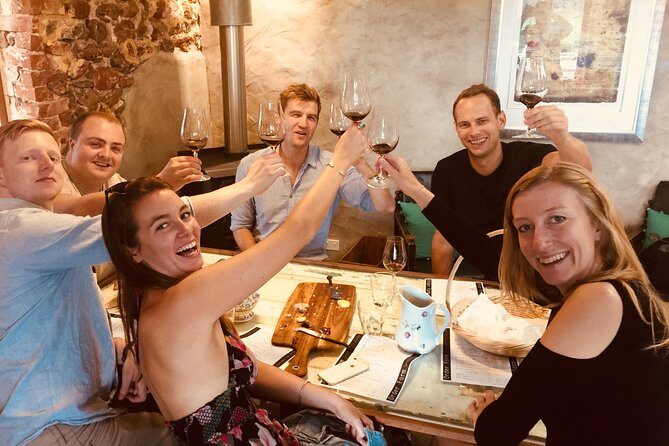
One of the most enjoyable aspects of wine tours isn’t the “checklist.” It’s the feel of the day. With a good guide, the pacing stays calm, the tasting order makes sense, and you don’t feel like you’re being herded through rooms.
A great example of this kind of flexibility showed up on one day where the group was taken to an extra stop for a glass of shiraz. The extra touch wasn’t a full detour or a long add-on—it was a small win that kept the day fun without derailing the core plan. (It’s not guaranteed on every date, but it tells you the guide isn’t locked into a totally rigid script.)
You’ll also get value from having someone answer the questions that pop up in the moment—why one wine tastes different, why a region expresses itself a certain way, or what pairs well with what you might want next.
Transportation, comfort, and when to plan ahead
You’ll be on the move for a full day, so start with basics: wear comfortable shoes for winery grounds and tasting-room visits, and drink water between tastings. With multiple stops, small comfort choices pay off.
The tour also states it’s near public transportation, but since pickup and drop-off are part of the deal, you can treat this like a full-day ride rather than a self-guided route.
Wheelchair access is addressed too: wheelchairs that fold up can be accepted, and other vehicles can be arranged with notice prior to booking. If mobility needs matter for your group, tell the provider early so the day is planned around your requirements—not adjusted at the last moment.
Who this tour suits best (and who might want something else)
This tour is a strong fit if you want a guided wine day without having to think about logistics. It’s especially good for:
- Wine-curious first-timers who want quality tastings without picking wineries and booking everything themselves
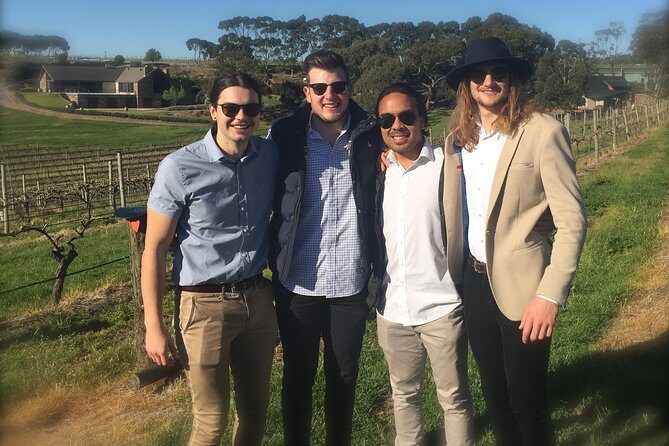
- Groups that want a shared day with pickup convenience and a private format
- People who like variety, since you’ll cover different winery styles across the region
It might be less ideal if you want total control over every stop and every glass. Because tastings and wine purchases work on a schedule and within a set structure, you’ll still get freedom to choose what you like—just not total freedom to ignore the day’s timing.
Should you book this McLaren Vale and Adelaide Hills wine day?
If you want a day that’s easy to run, includes tasting fees, and still gives you proper time at each winery, I’d book it. The biggest reasons are practical: pickup/drop-off in Adelaide, pre arranged tastings, and an itinerary order that balances views, heritage, and hands-on wine styles.
Book it if:
- you’d rather pay once and taste without counting every extra fee
- you want the d’Arenberg Cube view moment but don’t want a one-stop day
- your group includes different wine preferences and you want a guide to help steer choices
Skip it if:
- you’re trying to keep costs extremely tight and don’t want to budget for any extra glasses or premium pours
- you prefer a totally self-directed route where you can drift at your own tempo for hours
If you do book, come with a simple plan: pick one or two wines you truly like as targets for purchase, pace your pours, and use the guide to refine what you should try next. That’s how you end the day with bottles you actually want—and not just a souvenir receipt.
FAQ
How long is the McLaren Vale shared tour with 4 wineries?
It runs for about 7 hours 30 minutes.
What is the price per person?
The price is $157.79 per person.
Do you get pickup and drop-off in Adelaide?
Yes. Pickup and drop-off are offered at your chosen location in Adelaide.
How many wineries are visited?
The day includes visits to 4 wineries.
Are tasting fees included?
Yes. Tasting fees are pre organised and included, along with all fees and taxes.
Are alcoholic beverages included in the tour price?
No. Alcoholic beverages are not included, and premium wine tastings are at your expense.
Is this tour private?
Yes. It’s a private tour/activity, and only your group will participate.
Can the tour accommodate a wheelchair?
Wheelchairs that fold up can be accepted. Other vehicles can be arranged with notice prior to booking.
What’s the cancellation policy?
You can cancel for free up to 24 hours in advance for a full refund. If the minimum number of travelers isn’t met, the experience may be canceled and you’ll be offered another date/experience or a full refund.