REVIEW · ADELAIDE
Adelaide: McLaren Vale & The Cube Day Trip
Book on GetYourGuide →Operated by Adelaide Sightseeing · Bookable on GetYourGuide
If you like your wine tours a little offbeat, d’Arenberg Cube is the reason to go. You also get a proper lunch-and-wine experience at Chalk Hill Wines, plus guided stops at major cellar doors instead of a hit-or-miss tasting sprint. One thing to consider: it’s a packed schedule with timed tastings, so you may wish you had more freedom to linger or sample extra pours beyond what’s included.
The upside is the overall flow. You start with a coach run out of Adelaide (with a short break in McLaren Vale), then settle into winery time with a live English guide, and the day is paced so you’re not constantly rushing from place to place. I found this kind of structure helps you focus on the quality of the stops, not the logistics.
In This Review
- Key highlights you’ll actually feel
- The McLaren Vale style: wine country with real variety
- Price and value: what you’re paying for at $159
- Getting out of Adelaide: the pace that matters
- Stop 1: The d’Arenberg Cube and its five levels
- Lunch at Chalk Hill Wines: Italian comfort plus four-wine pairing
- Beresford Wines Tasting Pavilion: pick your mood
- Wirra Wirra Vineyards: guided cellars in historic ironstone
- The real star: the guide and how they shape your day
- Who this tour suits best (and who might want a different format)
- Practical tips that make the day smoother
- Should you book this Adelaide to McLaren Vale and The Cube day trip?
- FAQ
- FAQ
- How long is the Adelaide to McLaren Vale and d’Arenberg Cube day trip?
- What’s included in the price?
- What tastings can I choose at Beresford Wines?
- What happens at Chalk Hill Wines for lunch?
- Where do I meet the group in Adelaide?
- What should I bring on the tour?
- Is the tour suitable for children?
Key highlights you’ll actually feel
- d’Arenberg Cube: a 5-level “Rubik’s cube” experience with art installations and a formal tasting on Level 4
- Chalk Hill Wines lunch pairing: Italian-style shared lunch paired with four Chalk Hill wines
- Beresford Tasting Pavilion choices: pick a wine, craft beer, or spirit and gin tasting
- Wirra Wirra cellar tour: guided visit among gum trees and historic ironstone cellars with a structured tasting
- Coach comfort plus guide direction: you get live narration and smooth timing across multiple venues
- Two bus rides, one long day: 8 hours total with about an hour travel each way (plan your pace)
The McLaren Vale style: wine country with real variety
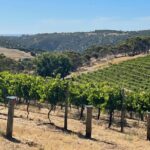
McLaren Vale is one of South Australia’s best-known wine regions, and this day trip gives you a smart cross-section of why people keep coming back. You’re not just doing tasting flights at one winery and calling it a day. Instead, you rotate between cellar-door formats: a playful art-and-wine attraction, a family-owned winery with a lunch pairing, and two more tasting experiences with their own formats.
What I like about this approach is that it turns the day into a sequence of different wine cultures. The d’Arenberg Cube is more about experience design than classic cellar-door ritual. Chalk Hill leans into small-batch, hand-crafted wines and a proper shared lunch. Beresford gives you choice across wine, beer, and spirits/gins. Wirra Wirra brings you back to traditional cellar touring and a structured tasting.
If you’re the kind of person who gets bored when every stop feels the same, this itinerary keeps you interested.
Other McLaren Vale wine tours reviewed in Adelaide



Price and value: what you’re paying for at $159
At $159 per person for an 8-hour outing, the value depends on what you expect from a day trip. This one is not priced like a simple bus ride with quick tastings. It includes roundtrip transportation from Adelaide, morning tea, lunch, and guided tours plus tastings at multiple venues.
Specifically, the included items are doing the heavy lifting for you:
- d’Arenberg Cube tour and tastings
- Beresford Wines Tasting Pavilion tastings
- Wirra Wirra Vineyards tour and tastings
- Lunch plus the pairing experience at Chalk Hill
- Morning tea and the coach out-and-back
Where the cost can feel tighter is in extra add-ons. If you want to keep ordering beyond the included tastings, you’ll be paying out of pocket (and the tour doesn’t build in a lot of extra wandering time once the tasting blocks are done). One review even flagged the feeling of being a bit over-priced for the time you get—so if you’re hoping for lots of free sampling and stretching sessions, you might want a longer, more open-ended tour instead.
Bottom line: it’s strong value if you’re happy with scheduled tastings and want a guided, multi-winery day without the stress of driving.
Getting out of Adelaide: the pace that matters
You meet your driver inside Adelaide Central Bus Station by the entrance to the bus bays (not out on the street somewhere random). From there, you’re on a coach for about an hour, heading along the metropolitan coastline toward McLaren Vale.
Timing-wise, here’s what that means in real life:
- You’re committing to a full day, not a quick afternoon taste.
- You get a short break in McLaren Vale (about 30 minutes) for coffee/tea, shopping, and free time.
- Once the winery blocks start, the schedule is structured—so don’t expect to swap stops or change the order once you’re in.
A practical tip: keep your phone charged and have any ID handy. The day includes checkpoints where your ID might be needed, and the tour asks you to bring either a passport or ID card, plus cash.
Stop 1: The d’Arenberg Cube and its five levels
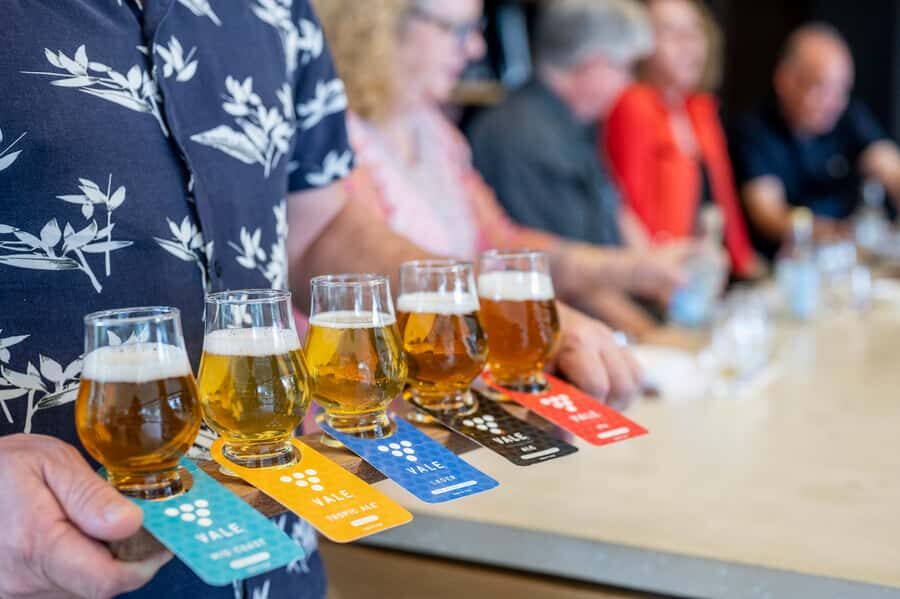
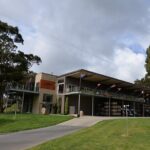
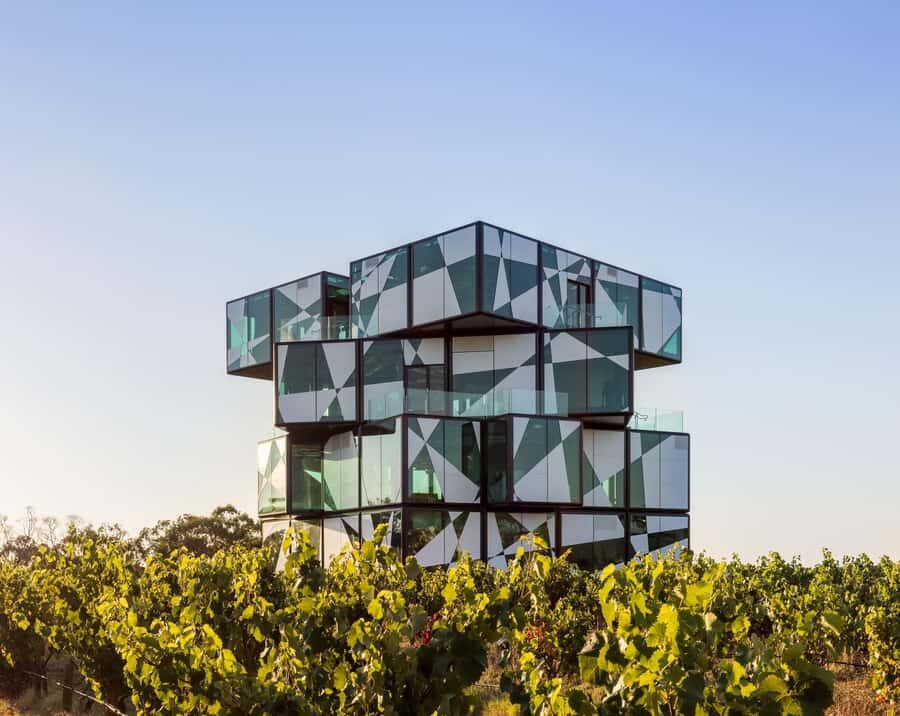
If you’re only going for one highlight, make it the d’Arenberg Cube. This isn’t just a tasting room. It’s a carefully staged experience built across five levels, designed to play with how you see and taste wine.
Here’s what you can expect during your visit:
- Photo stop before you head into the experience
- Guided tour (75 minutes total on site)
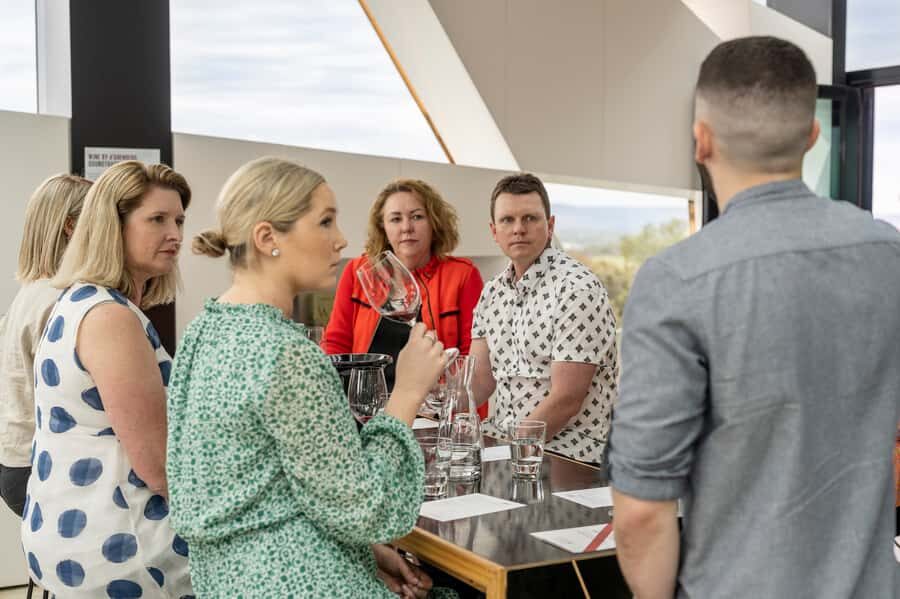
- Formal wine tasting on Level 4, where you also get panoramic views of the vineyards
- The presence of the Alternate Realities Museum and art installations spread through the attraction
Why this matters for you: d’Arenberg has a reputation for turning a wine stop into something you remember. Reviews consistently call it weird in a good way, and that’s a fair description based on how the attraction is built. Even if you’re not an art person, the design helps you slow down and pay attention to the senses you usually ignore during tasting.
One small consideration: because the tasting is formal and timed, you don’t control the pace the way you might at a free-form cellar door. You get the planned experience, not a buffet of choices.
Lunch at Chalk Hill Wines: Italian comfort plus four-wine pairing
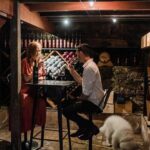
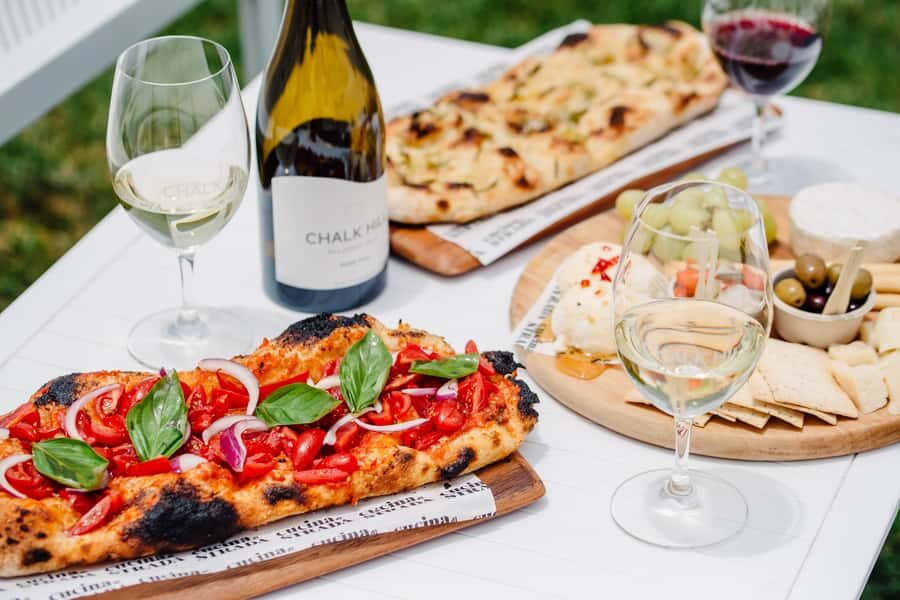
After the Cube, you head to Chalk Hill Wines for lunch and a wine pairing experience. Chalk Hill is family-owned and focused on small-batch, hand-crafted wines, which tends to translate into tastings that feel intentional rather than production-line generic.
Your lunch experience includes:
- Italian-style shared lunch prepared by Cucina Di Strada
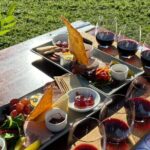
- A wine pairing with four of Chalk Hill’s most popular wines
- A guided and paced session lasting about 75 minutes
This is one of the best value moments in the day because lunch is both food and structure. You’re not just eating between tastings—you’re learning how the wines are meant to work with the meal.
A practical note from experience with tours like this: because it’s a paired lunch, you’ll probably stay within the plan. One review mentioned limited lunch options, with a noodle dish turning out nicely. That’s a useful heads-up if you have dietary needs or you’re picky about meal type—your best bet is to review the lunch details when you book and plan your expectations around what’s included.
A few more Adelaide tours and experiences worth a look




Beresford Wines Tasting Pavilion: pick your mood
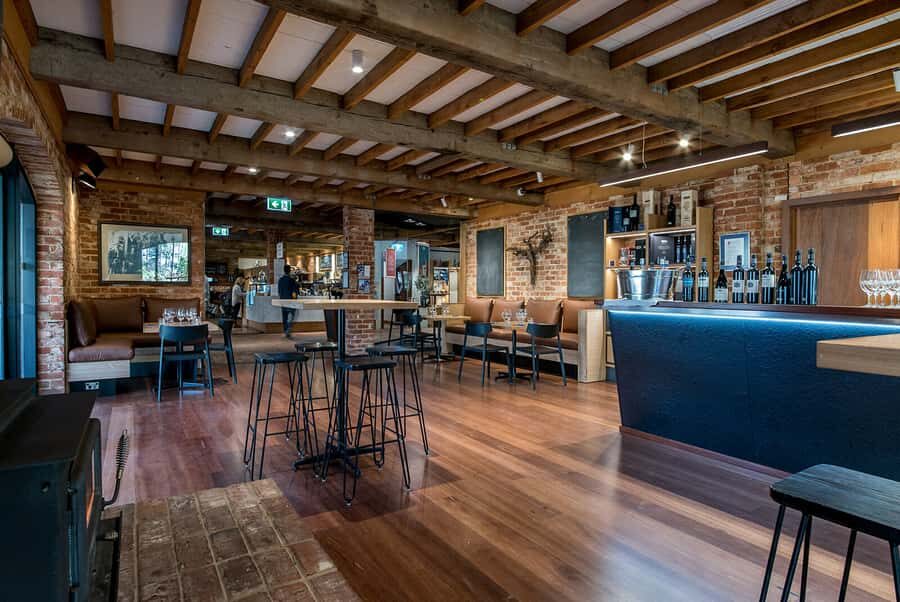
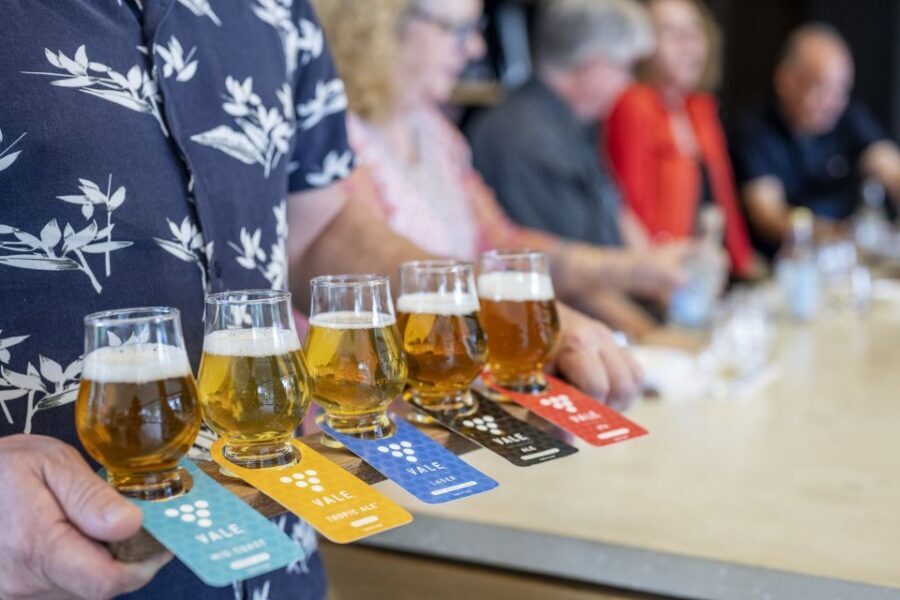
Next up is Beresford Wines and their Tasting Pavilion, where you choose from one of three tasting options. This flexibility is a real win if you don’t all like the same style of drink.
During your 45-minute session, you can select:
- Wine tasting
- Craft beer tasting
- Spirit and gin tasting
The tour keeps it simple: you choose the track that fits what you want that day. If you’re more excited by wine, go that way. If you want something different from the usual grape-only routine, the gin and spirit option is the change of pace.
Why I think this part works: it’s one of the few places in the itinerary where your preferences actually drive your experience. Everything else is structured by the itinerary; here, you can steer your own tasting mood.
Wirra Wirra Vineyards: guided cellars in historic ironstone
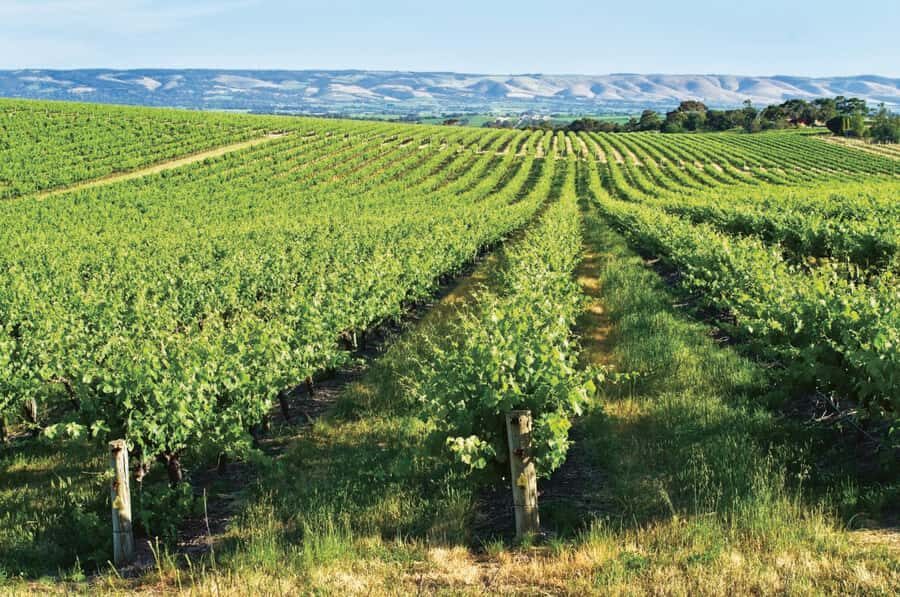
The final winery stop is Wirra Wirra Vineyards, located among gum trees in historic ironstone cellars. If you like a more classic winery feel, this stop brings you back to the traditional side of wine tourism.
You get:
- A guided tour of the cellars
- A structured tasting of their range of quality wines
- About one hour total at the winery
A useful detail: the “structured tasting” part means you’re less likely to drift aimlessly. Instead, there’s a set sequence designed to help you understand the range and how the wines relate.
Multiple reviews single out the Wirra Wirra tour guides and describe the cellar visit as a highlight. One review even said Wirra Wirra was the best wine stop by the end of the day, which tracks with the idea that the finish lands strong.
The real star: the guide and how they shape your day
Wine tours can rise or fall on the guide, and the good news here is that the guiding talent is repeatedly praised. Different guides show up in the feedback, including Dave, Phil, Athol, Roger, Michael, Chris, and Jeff—and the common thread is that they keep things friendly and informative while still staying on schedule.
What that means for you: you’re more likely to get context that actually helps you taste—history of the region, practical explanations, and a sense of humor that makes a long day feel lighter.
If you want to maximize your day, do one simple thing: listen during the transitions. The short drive segments and in-between explanations are where you’ll usually pick up the “why” behind what you’re tasting.
Who this tour suits best (and who might want a different format)
This tour is a good fit if you:
- Want multiple winery experiences without arranging transport yourself
- Like guided tastings and structured pacing
- Are curious about an attraction that blends art and wine (d’Arenberg Cube)
- Enjoy a mix of styles (wine first, then a choice of wine/beer/gin, then a cellar-focused tasting)
You might want to look elsewhere if you:
- Want extra free time to explore beyond included tastings
- Prefer longer, more relaxed sessions at fewer wineries
- Are highly picky about lunch variety, since the included lunch is part of the pairing format
- Are traveling with kids (this tour isn’t suitable for children under 18)
Practical tips that make the day smoother
A few small things can noticeably improve your experience:
- Wear something that fits the dress rule: sleeveless shirts aren’t allowed.
- Bring passport or ID plus cash (the day specifically asks for both).
- Stay hydrated—tasting is scheduled, but your body will thank you for water between stops.
- If you’re a fan of one particular style, plan ahead: Beresford lets you choose wine, beer, or spirit/gin, so decide what you want before you’re rushed at the pavilion.
Also, keep in mind the day includes lots of tasting moments packed into a single schedule. You’ll still have a break in McLaren Vale, but don’t count on long, spontaneous detours once you’re on the winery circuit.
Should you book this Adelaide to McLaren Vale and The Cube day trip?
Book it if you want a guided, high-energy day that hits the big named stops of McLaren Vale and finishes with a strong winery experience. The d’Arenberg Cube is worth building your day around, and the Chalk Hill lunch pairing is the kind of included meal experience that makes the $159 price feel more justified than a tour that only hands you small tastings and calls it done.
Pass on it (or look for a longer itinerary) if you’re hoping for maximum freedom: more time at each cellar, more extra pours, and less schedule control. This tour gives you set experiences, and if you love choosing your own pace, you may end the day wanting more.
FAQ
FAQ
How long is the Adelaide to McLaren Vale and d’Arenberg Cube day trip?
It runs for 8 hours total, including transportation time to and from Adelaide.
What’s included in the price?
The tour includes roundtrip transportation from the meeting point, morning tea, d’Arenberg Cube tour and tastings, Beresford Wines Tasting Pavilion tastings, Wirra Wirra Vineyards tour and tastings, and lunch.
What tastings can I choose at Beresford Wines?
At the Beresford Wines Tasting Pavilion, you can select one of three tasting options: wine, craft beer, or spirit and gin.
What happens at Chalk Hill Wines for lunch?
You’ll have an Italian-style shared lunch prepared by Cucina Di Strada, paired with four Chalk Hill wines. The lunch and pairing session runs for about 75 minutes.
Where do I meet the group in Adelaide?
Your driver meets you inside the Adelaide Central Bus Station by the entrance to the bus bays.
What should I bring on the tour?
Bring passport or ID, and also cash.
Is the tour suitable for children?
No. The tour is not suitable for children under 18.