REVIEW · ADELAIDE
Adelaide Hills Divine Wine Tour
Book on GetYourGuide →Operated by Hills Luxury Day Tours · Bookable on GetYourGuide
Great wine views start at Mount Lofty. This is a smooth Adelaide Hills day built around panoramic outlooks, small-group vineyard tastings, and real time to wander Hahndorf. I love the mix of stops: family-owned wineries in Lobethal and Hahndorf, then a proper lunch on Hahndorf’s main street. I also love how the guide keeps the day moving with friendly, funny commentary from the moment you roll out. One drawback to keep in mind: the day is packed, so Beerenberg and Hahndorf feel like “hit-and-go” blocks rather than long, wandering sessions.
At $208 per person for an 8-hour outing, the value comes from what’s included: door-to-door style pickup from Glenelg or Adelaide CBD, a full set of winery tastings, lunch, and a complimentary box of chocolates on the way home. If you’re the kind of person who wants to sit for hours with one cellar door or linger in town, you’ll need to be okay with a fixed schedule.
In This Review
- Key Points That Make This Tour Worth It
- A Full-Day Adelaide Hills Loop: Mount Lofty, Lobethal, Hahndorf
- Price and Value at $208: What You’re Actually Paying For
- Mount Lofty Summit: The Panoramic Photo Stop That Sets the Tone
- Lobethal at Golding Wines: Wine Flight Style Tasting, Done Simply
- Howard Vineyard: Photo Break, Tastings, and Optional Cheese Add-Ons
- Hahndorf’s Main Street: Lunch Included and Time to Browse
- Beerenberg Strawberry Farm: Quick Jam Sampling and a Family-Run Feel
- Sidewood Cellar Door in Hahndorf: Cool-Climate Wine Tastings to Close
- The Guide and Small-Group Experience: Where the Day Feels Personal
- Who This Tour Fits Best (and Who Might Want a Different Style)
- Should You Book the Adelaide Hills Divine Wine Tour?
- FAQ
- FAQ
- How long is the Adelaide Hills Divine Wine Tour?
- What is the price per person?
- Where does the tour pick up from?
- Are there drop-offs as well?
- How large is the group?
- What wineries and tasting stops are included?
- Is lunch included?
- Is coffee and cake included?
- Is the cheese board included?
- Does the tour include chocolates?
- Can I cancel for a full refund?
Key Points That Make This Tour Worth It
- Mount Lofty Summit photo stop with big Adelaide views (and possible kangaroo/koala sightings)
- Family-owned wine tastings in Lobethal and Hahndorf, including a white-and-red wine flight
- Hahndorf time plus lunch included, timed for shops and street wandering
- Beerenberg Strawberry Farm quick stop for world-known jams and condiments
- Comfortable small group experience with an on-the-go, high-energy guide like Maddy
- Complimentary chocolates to end the day on a sweet note
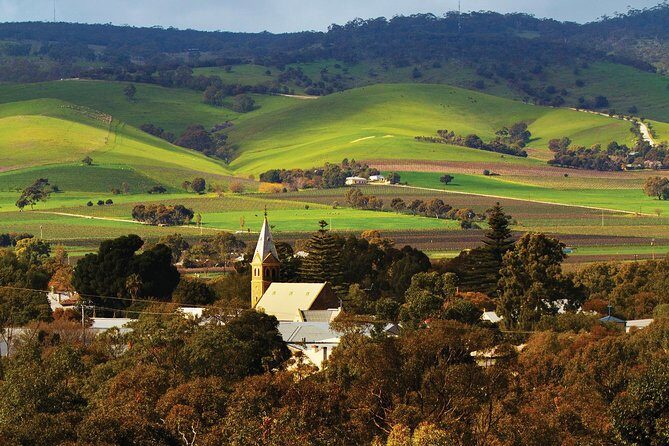
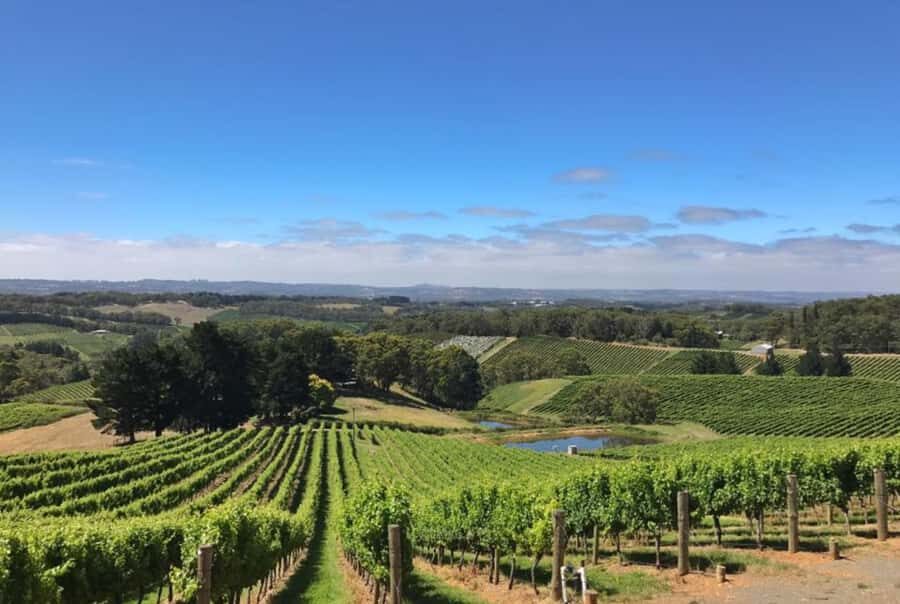
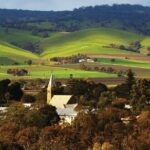
A Full-Day Adelaide Hills Loop: Mount Lofty, Lobethal, Hahndorf
This tour is built like a classic Hills circuit: you start with a scenic “wow” point, then move into vineyards, then finish with town and food stops. The pacing makes sense if your ideal day is variety over deep specialization.
You’ll spend time in the Adelaide Hills villages of Summertown and Uraidla as you travel between stops. Those drive-through sections matter because they give you a feel for the region, not just the winery buildings and tasting rooms. And because the group is small (up to 6), you won’t feel packed into a giant coach where you lose the personal touch.
Other Adelaide Hills and Hahndorf tours reviewed in Adelaide


Price and Value at $208: What You’re Actually Paying For
Let’s talk value, not just cost. At $208 per person for 8 hours, you’re paying for four big inclusions that would add up fast on your own: pickup, wine tastings, lunch, and the final chocolate sweetie on the drive home.
Here’s how the day stacks up:
- Pickup and drop-off from Adelaide CBD or Glenelg
- Three tasting stops across the day (Golding Wines, Howard Vineyard, and Sidewood Cellar Door/Sidewood Estate)
- Lunch included in Hahndorf
- Beerenberg access for jam and condiment sampling
- Complimentary chocolates after the last stop
The trade-off is that you’re not controlling the schedule. You’re getting a well-packaged day, not a flexible, self-guided “pick your pace” route. But if you want to taste multiple producers without arranging transport and timings yourself, the structure is what you’re paying for.
Mount Lofty Summit: The Panoramic Photo Stop That Sets the Tone
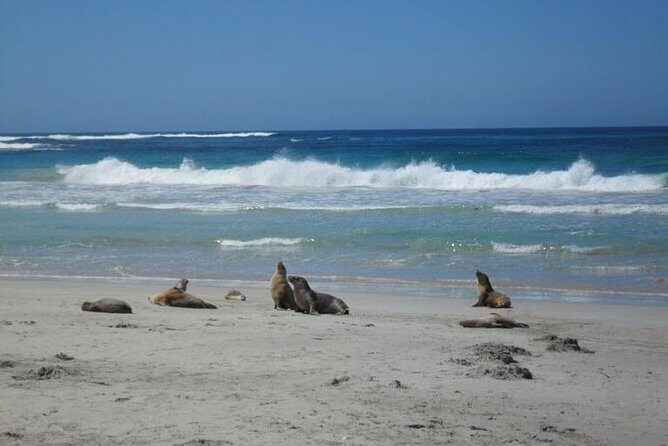
Mount Lofty Summit is your early centerpiece. You’ll stop there for about one hour for photo-taking and viewpoints as you learn the lay of the land from the guide.
This is also where the tour hints at a little nature luck. You may even spot a kangaroo or koala, depending on the day. Even if you don’t get wildlife, the point is clear: you start above Adelaide with a view that makes the whole Hills region feel real.
One practical note: because it’s a photo-and-view stop, I recommend treating your camera settings seriously. It’s the kind of moment where you want one good shot, not a hundred blurry ones.
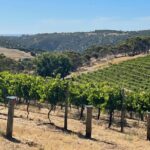
Lobethal at Golding Wines: Wine Flight Style Tasting, Done Simply
After the summit, you head to Golding Wines in Lobethal. This stop is set up around a wine flight: a structured tasting of white and red wines that keeps things friendly and paced.
Plan for about one hour here. I like this format because it’s not just “pick a random glass.” It gives you a guided comparison across styles, which makes your palate understand what the Hills are doing, rather than leaving you guessing.
If you’re trying to decide what to order later (or what bottle you’ll actually enjoy on arrival home), a flight is one of the easiest ways to build confidence quickly. And since this tour includes multiple wineries, you’re better off doing each tasting in a clear, timed way rather than hoping one cellar door carries the whole day.
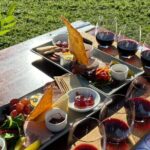
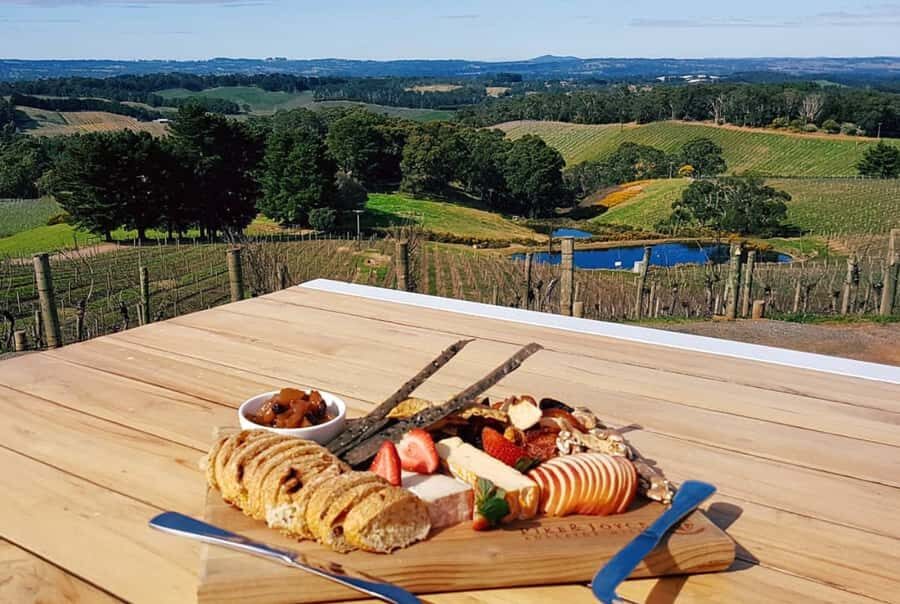
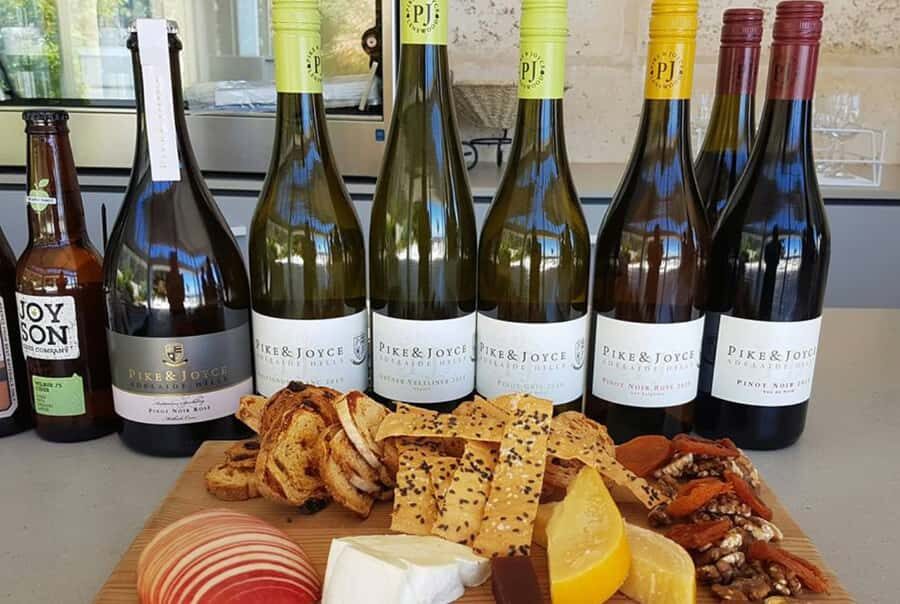
Howard Vineyard: Photo Break, Tastings, and Optional Cheese Add-Ons
Howard Vineyard is another tasting stop that fits the tour’s rhythm. You’ll have a photo stop element before your tasting time, then enjoy about 45 minutes at the winery area.
This is a good middle stop if you like variety. You’re not just returning to the same style of experience. You’ll be tasting again, and the tour keeps you moving so you don’t end up in tasting-room fatigue.
There’s also an optional cheese board add-on mentioned for this portion. That’s worth considering if you enjoy pairing wine with something salty and structured. If you’re not a cheese person, you can skip it—your base tasting is the focus.
Other wine tours in Adelaide


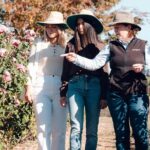
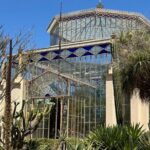
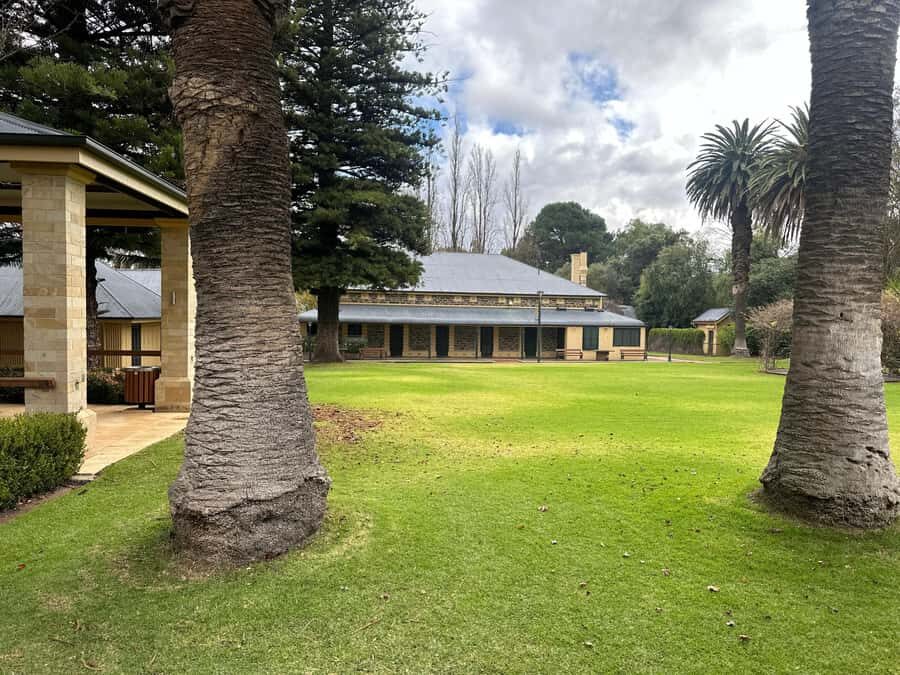
Hahndorf’s Main Street: Lunch Included and Time to Browse
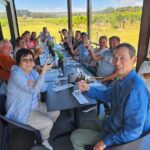
Hahndorf is the town moment, and it’s not an afterthought. You get around two hours for break time, photos, and sightseeing, with lunch included at a selected restaurant along the picturesque main street.
This is where you can slow down a bit. Hahndorf’s value here isn’t just food—it’s the streetscape vibe and the chance to browse unique shops in a walkable setting. I like that the lunch is included, because it removes decision pressure from a day that’s already busy.
Based on the tour’s timing, I’d treat this as a “shop smart” block. If you want to see everything, prioritize the main street first, then add detours only if you still have time. And yes, this is also the part of the day where some people may wish they had longer. Two hours is enough to enjoy it, but it’s not enough to do it all at a leisurely pace.
Also, coffee and cake aren’t included, so if you’re the type who wants a dessert stop after lunch, you’ll need to factor that in.
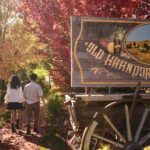
Beerenberg Strawberry Farm: Quick Jam Sampling and a Family-Run Feel
Beerenberg Strawberry Farm is a short stop—about 30 minutes—with photo time and the chance to sample products like jams and condiments. The emphasis is on tasting and picking up those sweet-savory items you can’t easily replicate at home.
This stop works best if you’re excited for food shopping. It’s not built as a long farm wander day. If what you want most is extra time in wine country, this is the portion of the itinerary that can feel like it passes quickly.
Still, it’s a fun contrast to the wineries. A jam tasting gives your day an earthy, local flavor angle, and it’s easy to enjoy without needing to be a wine expert.
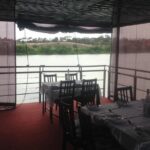
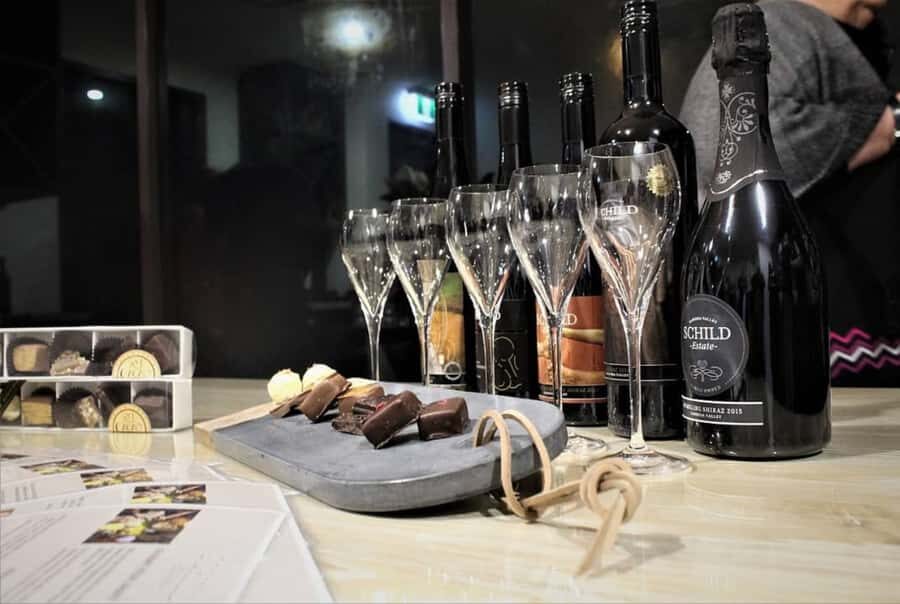
Sidewood Cellar Door in Hahndorf: Cool-Climate Wine Tastings to Close
Your final winery stop is Sidewood Cellar Door / Sidewood Estate in Hahndorf. This segment runs about one hour and is positioned as a cool climate wine tasting experience.
Why this matters: it gives your day a clear “finish line” in wine. You’ve already tasted earlier in the day, but ending with a cellar door tasting in town keeps things grounded. It’s also a good way to compare what you liked earlier with what this producer is offering, without the stress of racing between too many locations.
Once tasting wraps up, you’ll get the complimentary box of chocolates on the drive home and then dropped back at Glenelg or Adelaide CBD.
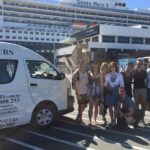
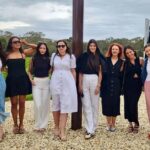
The Guide and Small-Group Experience: Where the Day Feels Personal
One of the standout strengths here is the live guide. On days like this, the guide is what turns a schedule into an experience.
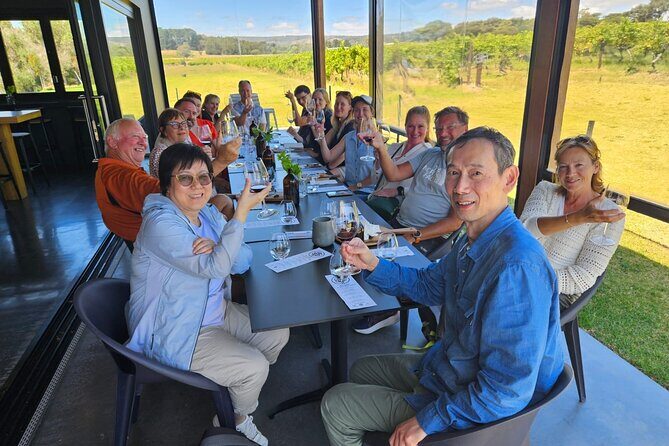
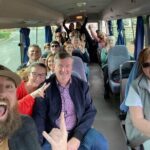
With a small group limited to 6 participants, you’re more likely to get a real back-and-forth tone. You’re not just sitting in silence while someone reads from a script. The best days, like the one with guide Maddy, feel like the guide is on from the time you leave, with commentary that keeps the region understandable and the drive entertaining.
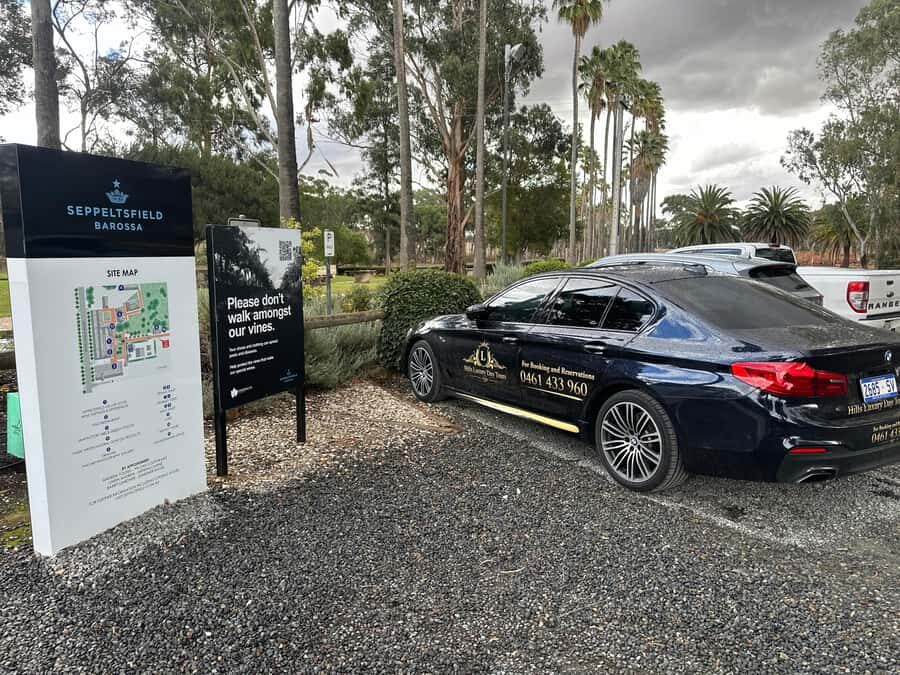
If you care about comfort and flow, this is also the type of tour where the vehicle matters. Reviews highlight the car comfort, and that’s important for an 8-hour day with multiple stops. You want to arrive feeling ready to taste and chat, not wrecked.
Who This Tour Fits Best (and Who Might Want a Different Style)
This tour is a strong match if you want:
- Multiple winery tastings without arranging a car or booking transport
- A mix of town time and food sampling, not just a wine circuit
- A small group with an engaging English-speaking guide
- Lunch handled for you, plus a sweet ending with chocolates
It might be less ideal if you want:
- To spend much more time in one place (one town stop and one quick farm stop are built in)
- A totally flexible itinerary where you can linger or skip stops as you go
Should You Book the Adelaide Hills Divine Wine Tour?
I’d book this if your goal is a smooth, guided day that hits the big Adelaide Hills highlights: Mount Lofty views, Lobethal wine flight style tasting, Hahndorf lunch and browsing, plus a final Sidewood cool-climate tasting. The $208 price makes sense when you remember what’s included—pickup, lunch, multiple tastings, and the chocolate payoff—rather than treating it as just a “winery day.”
Pass on it (or look for a more flexible option) if you’re the type who needs long, unhurried wandering time. This itinerary is efficient by design. It’s great when you want a full day of variety, and it’s less perfect if you’re aiming for slower pacing.
FAQ
FAQ
How long is the Adelaide Hills Divine Wine Tour?
The tour duration is 8 hours.
What is the price per person?
The price is $208 per person.
Where does the tour pick up from?
Pickup is included from accommodation in Adelaide CBD and Glenelg.
Are there drop-offs as well?
Yes. Drop-off locations include Glenelg and Adelaide City Council.
How large is the group?
The tour is a small group limited to 6 participants.
What wineries and tasting stops are included?
The tour includes tastings at Golding Wines, Howard Vineyard (subject to availability), and Sidewood Cellar Door / Sidewood Estate.
Is lunch included?
Yes, lunch is included in Hahndorf at a selected restaurant along the main street.
Is coffee and cake included?
No, coffee and cake are not included.
Is the cheese board included?
Cheese board add-ons are optional (not included by default).
Does the tour include chocolates?
Yes. You’ll receive a complimentary box of chocolates on the drive home.
Can I cancel for a full refund?
Yes. You can cancel up to 24 hours in advance for a full refund.